
 One of my dilemmas for about a year has been where to put our computers. Like technology, our computer history is constantly evolving. When we first got married Jared put together a computer and then we assembled a honkin' computer desk. This desk has been in every one of the bedrooms and the family room over the years, but it has always gotten moved around as more kids showed up. Remember this?
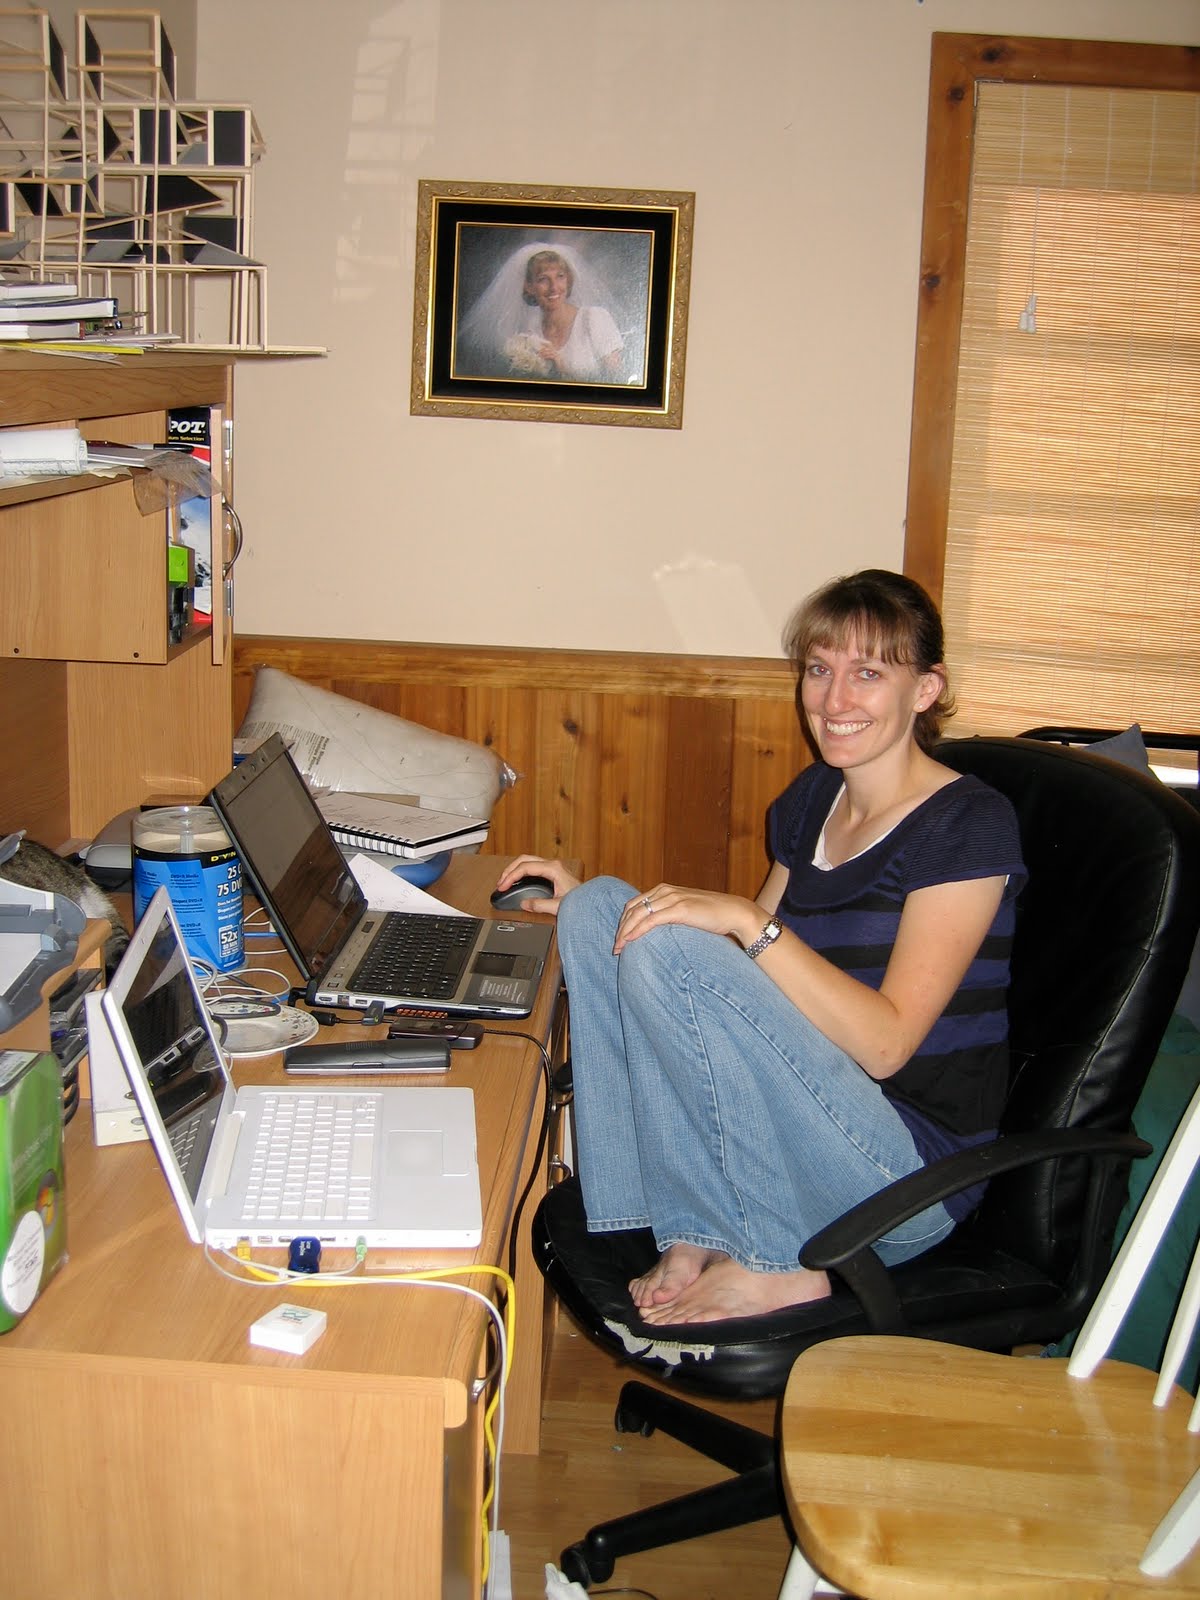 After the beloved desktop computer died and we both had new laptops, we realized that the giant desk made for one giant computer wasn't cutting it anymore, not to mention the fact that we no longer had space for it. So I Craigslisted it last year and haven't had a real place for laptops since. The printer found a home on the changing table and we'd been using the laptops on our dining room table, but it was always bothersome to have to move them every time we wanted to eat there. And then you had to deal with the cords. Those blasted cords! Trying to sweep and mop around them was so annoying. Something had to be done...
Step One: Move the piano from the dining room to the living room. Amazing! I love it there so much better. It's now more of a centerpiece than just something shoved in the dining room. The kids put on piano concerts and we can actually have piano accompaniment for FHE now.

Step Two: Put a make-shift desk where we want the computers to go and try to find a desk for two laptops and our printer. Since I had something pretty specific in mind, I couldn't find exactly what I wanted. So plan B, I designed one that we could build.
You can see the table acting as the desk in the background. And yes, we let our kids ride bikes inside. Marissa is getting really good on this little bike. She can keep up with the other kids riding around the block. Amazing!

Step Three: Plan to buy wood and start the project on Saturday (a month ago). Plan B, spot an old dresser in our neighborhood that someone put out for bulk pickup on Friday night and decide that we could re-purpose it. After we got home that night I asked Jared to go measure it and come to find out it was the exact height, width and depth of the desk I had designed, and it was made of some pretty decent wood. I normally don't make a habit of picking up other people's junk, but I honestly feel like it was a blessing to find this, mostly because we have been trying to save money for a trip to Utah and shouldn't be spending it on a computer desk. We sneaked out at 1:00 in the morning and loaded it in the van. The next day we unloaded it and all the drawers ended up right by our front door, thanks to our kids.
 Here's the rest of the 12 drawer dresser.
Step Four: Demo. Jared gutted the inside and I bought wood for the shelves. That was the first Saturday.
 Step Five: Build the shelves. (Sorry, no pics) That took up Saturday number two.
Step Six: The finishing touches--wood putty, sand and paint. This was Saturday number three. And there you have it. I don't know if I made this sound like it was easy, because it did take a lot of time and effort. I know they can redo a whole kitchen in like two days on TV, but we don't work that fast. What possessed me to attempt this project with a newborn and three small kids and in the middle of July in Florida is beyond me. It was so hot working on this in our garage! Whenever I am out in the humidity I get horrible headaches. Curse the headaches!!! This is the worst thing about living in Florida for me. So having bad headaches three weeks in a row wasn't fun, but I wanted the desk and what the hey, we seem to always have some project in the works.
 Step Seven: Bring it in, put computers, mail center, printer and baskets on it and enjoy. This is the perfect size for the computers we have--small enough that it doesn't take up too much space yet big enough for us to both have our own space (his and hers) and no more moving computers every day. It is in a central location in our home so we can monitor what the kids are doing on the computers and I can keep an eye on the kids when I'm writing long, drawn out blog entries like this one. I already had the paint and the baskets so the only expense was buying the wood and some supplies. And possibly the best part, no more cords on the floor! Simple pleasures. Dilemma resolved--I love it!
 Now for some cool chairs... anyone up for some dumpster diving?
5 comments:
Oh my gosh! I love it!!!! Seriously, that is awesome. I love projects like that!
Amazing job - I think the piano looks great in the living room and the desk turned out fabulous too.
That is SO COOL! I love it. And yes, I am always up for dumpster diving.
The desk looks great!! I knew you guys had picked up that dresser when I saw the drawers out on the side of the road. :) I thought it looked like a keeper for re-purposing when I saw it at the other neighbor's house and was disappointed that someone threw it out. So good for you for making something so nice (and useful) out of it.
And about that dumpster diving, I'm sure Dave will go with you. We have a chair in one of our rooms that he got out of the dumpster of the elderly home across Oakland Park (next to the gym). He hates it when I tell him someone probably died in it.
Um, can you be more creative? You should have your own show on HGTV. I know I'd watch it, if I was lucky enought to have HGTV. Miss you.
Post a Comment